Difference between revisions of "CSU/Ghostdraft"
m (→Importing the File) |
m (→Importing the File) |
||
| Line 57: | Line 57: | ||
[[Image:Proper_name.png]] | [[Image:Proper_name.png]] | ||
| + | |||
| + | |||
| + | ===Basic Formatting Changes=== | ||
Revision as of 23:56, 7 January 2021
This is the guidelines on converting forms Word templates into Ghostdarft documents
Contents
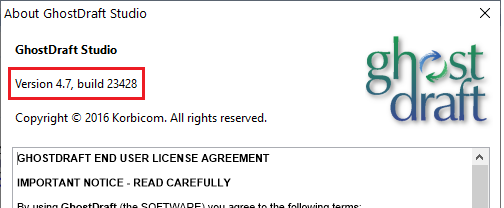
Ghostdraft Version
The Ghostdraft studio to be used should be version 4.7 or 4.6.
The earlier versions of Ghostdraft down to 4.0. should also work fine.
The later versions (5.0+) might be incompatible and require an careful check.
Importing ISO Template
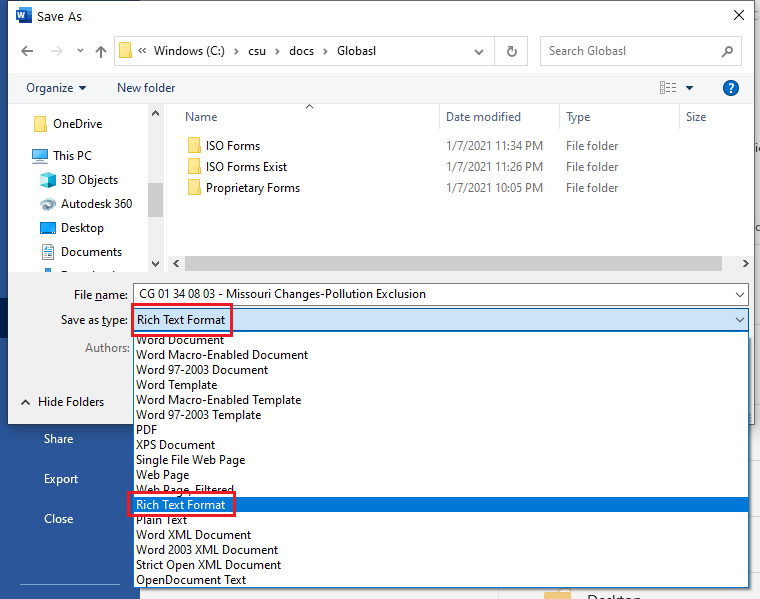
Converting To Rich-Text Format
Each Word template that needs to imported into Ghostdraft, must be converted to Rich-Text Format first.
In order to do that, open the file in Microsoft Word.
Select "File->Save as" and the select "Browse".
The file saving dialog will open. In the dialog you should change the value of "Save as type:" drop down to "Rich Text Format".
IMPORTANT: after save, close the file in Microsoft Word. Otherwise Ghostdraft will not be able to import the file.
No other file can be used by Ghostdraft during importing.
Location
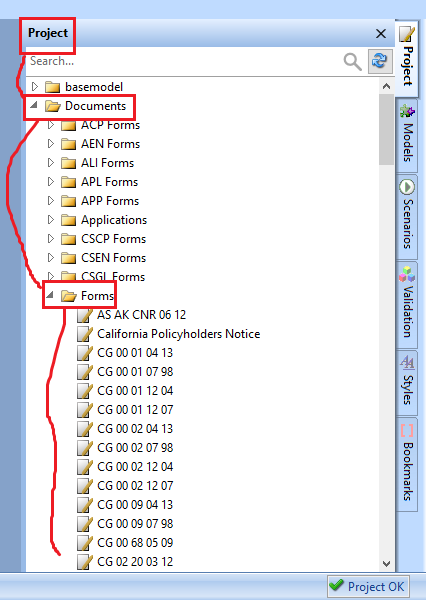
All ISO forms are stored under Documents->Forms folder.
Importing the File
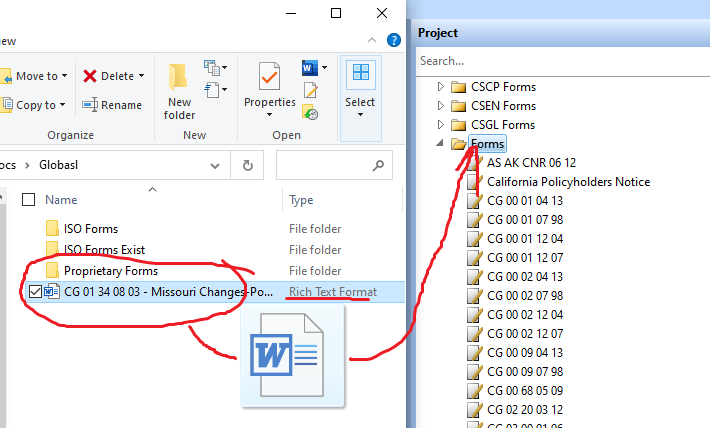
In order to import the file, one can simply drag and drop the file under Forms folder.
Make sure the file you are dragging is Rich Text Format.
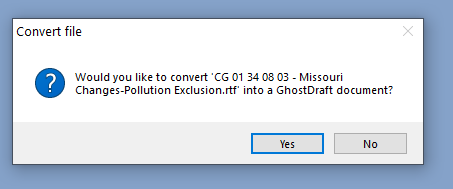
When you drop the file under Forms folder, you should see the dialog popup.
Answer "Yes".
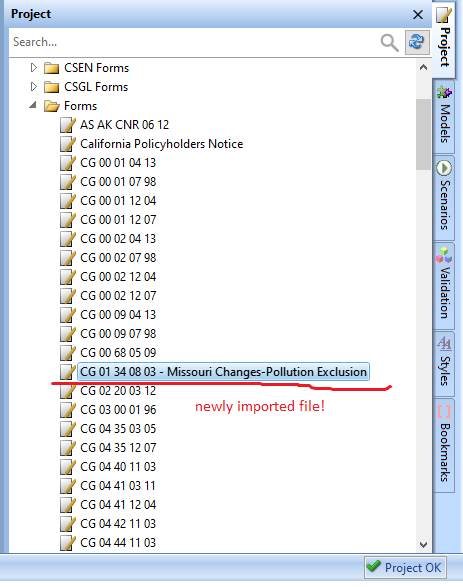
As a result, the new file template should show up in the list of forms:
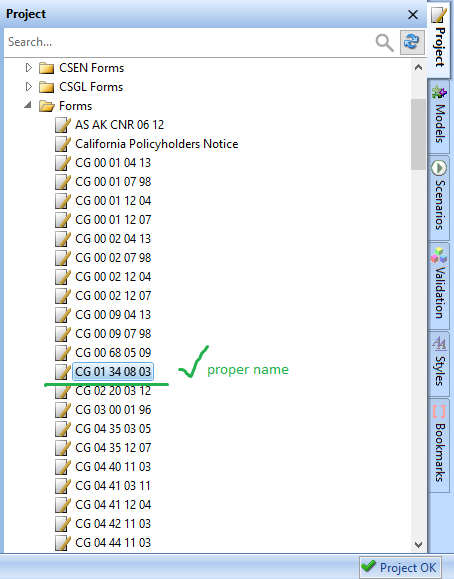
Important: Change the file name (Right click->Rename). The file name must consist only form prefix and edition date.
For example
- CG 01 34 08 03 - Missouri Changes-Pollution Exclusion
must be
- CG 01 34 08 03
If the file name doesn't have an edition date, it must be added! (Identifying the proper form edition by edition date is critical!)
